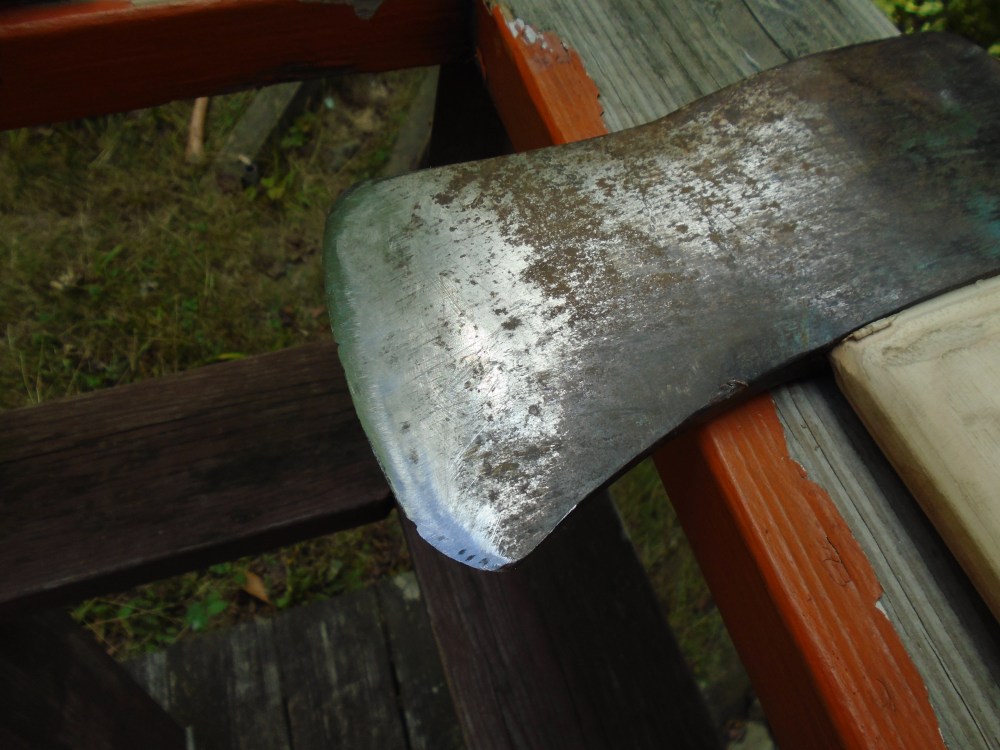
The old camp axe, the axe that gets used and abused over the years, never sharpened, never maintained, used by people who do are not exactly axe experts. Neglected for far too long, it is time to bring it back to life.
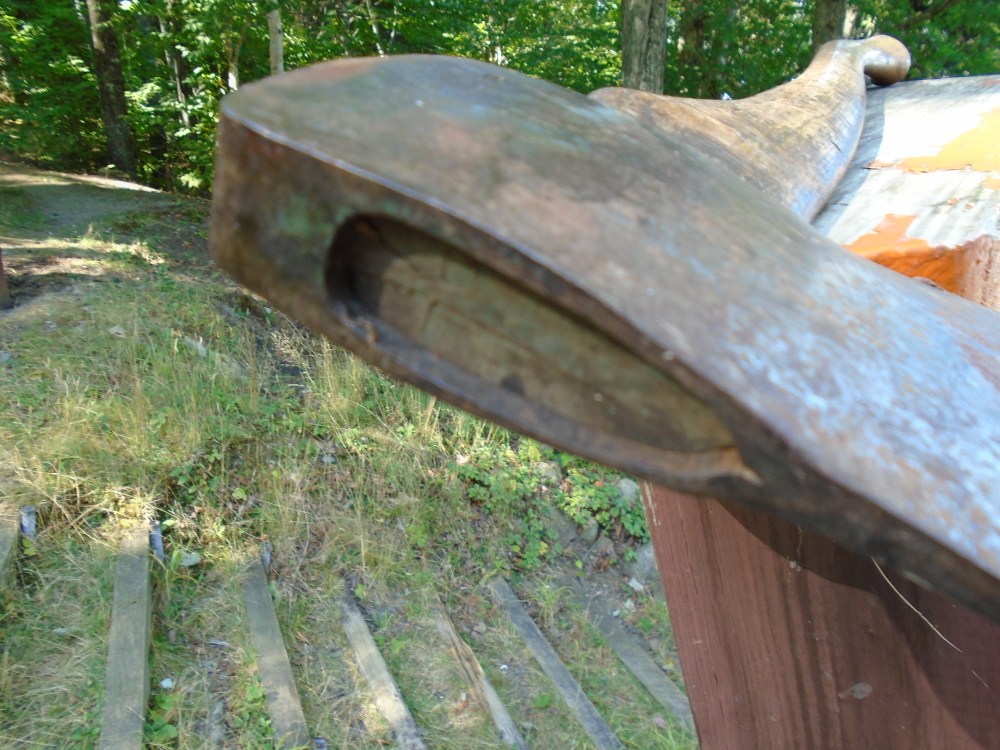
This axe is dull enough that you can run your hand over the bevel with no concerns about it breaking the skin, no bite left in the bit. Too many years without sharpening, too many times being driven into the dirt when chopping wood.

Bouncing off of dead, dried wood isn’t the only danger, but after many years being left in a shed, exposed to temperature changes, and never being oiled, the head is threatening to come flying off the handle at any time. An axe makeover is long overdue.
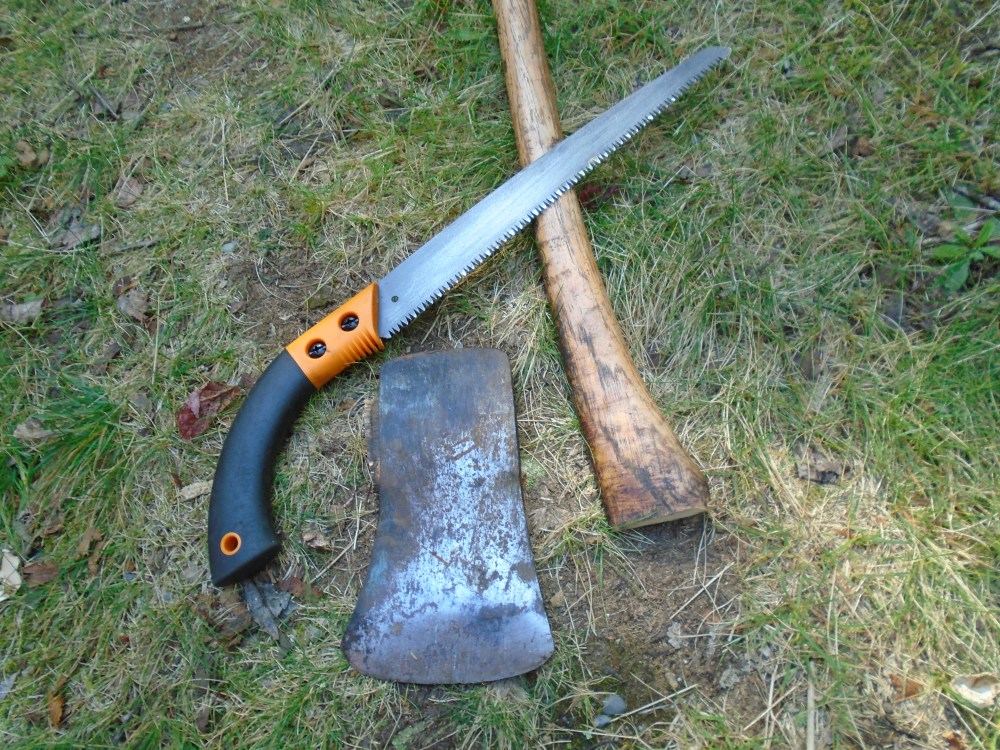
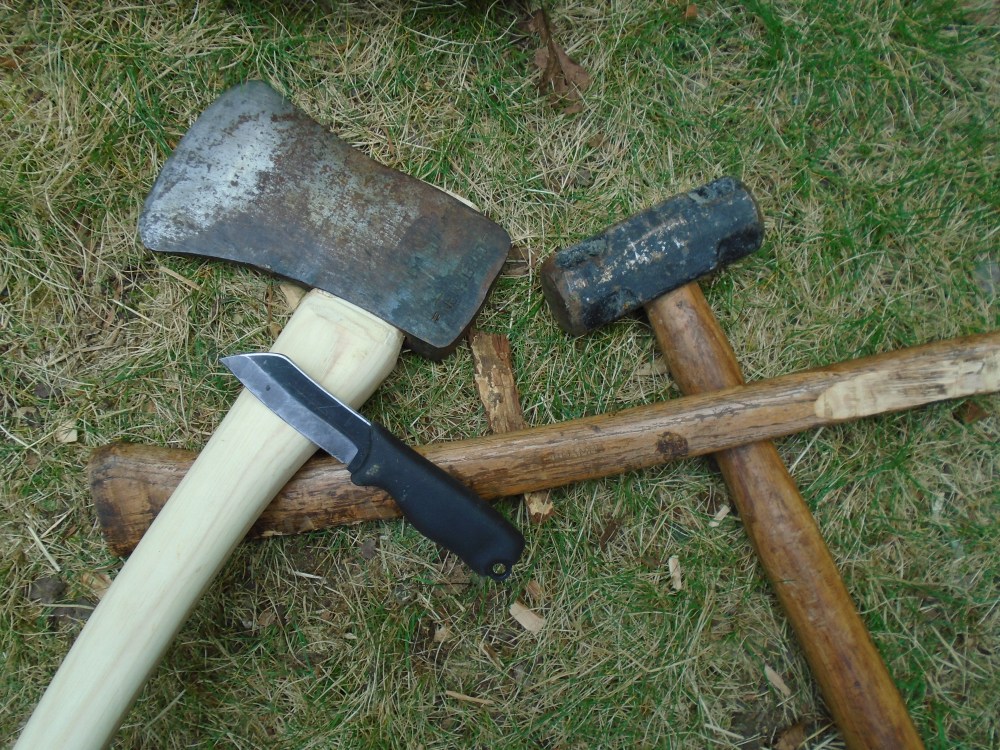
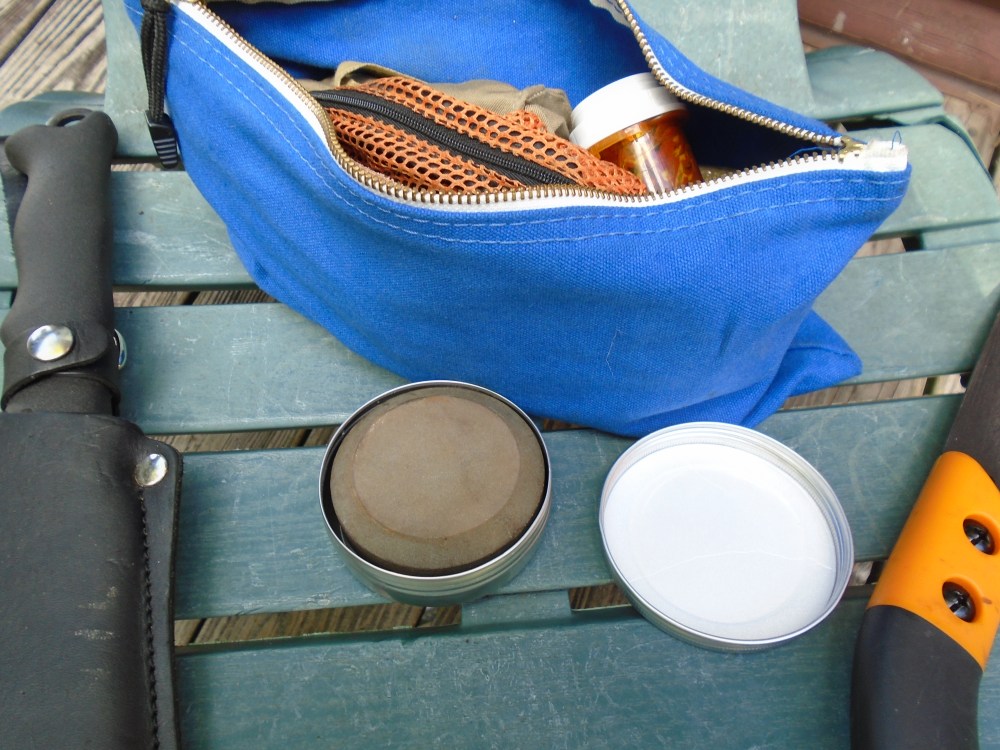
It’s a beautiful day for some tool maintenance. I broke out my skrama knife, and a saw from the shed, and a couple of split logs to get to work.
First, I cut the head from the handle. This concludes the first and easiest part of the job.
Next up, I whittled the handle down to be narrow enough to fit into the eye with my skrama, and braced the head of the axe in two logs, while I used a third log to pound the wood out of the eye using the remains of the old handle.
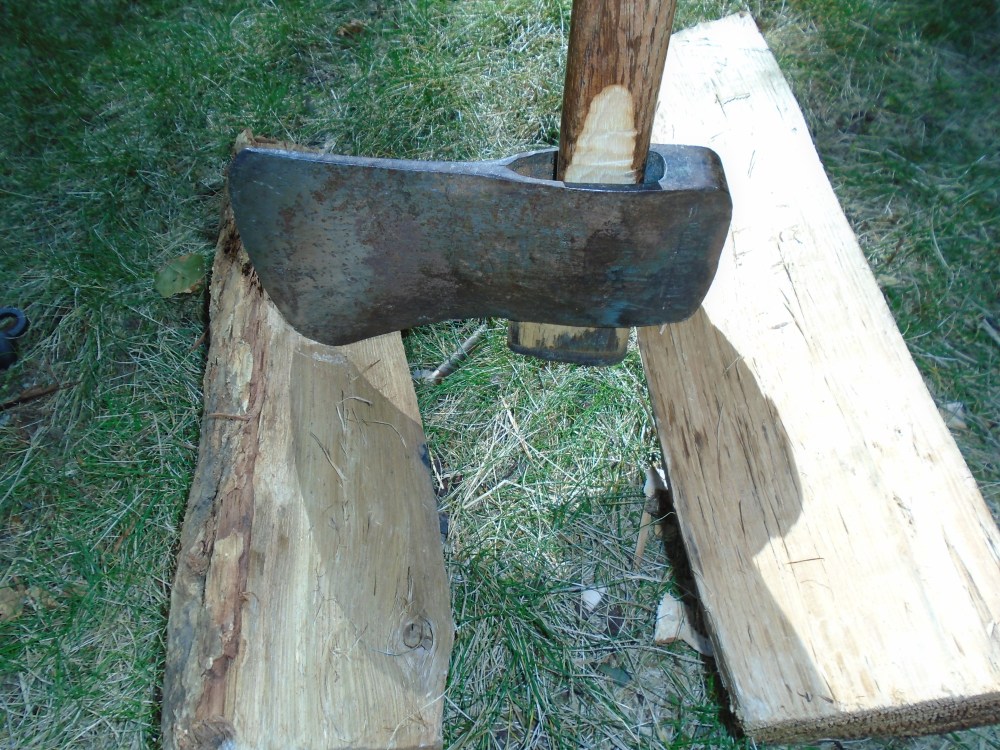
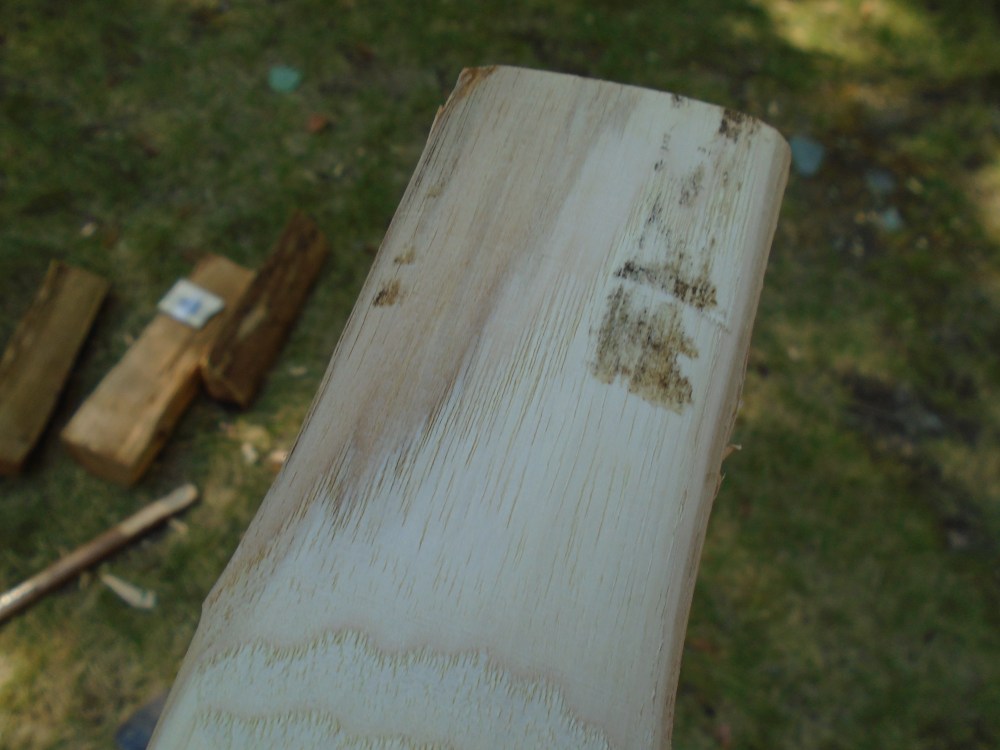
That was a bit more work than I anticipated. The wood was wedged tight in the eye despite the fact that it had already been receding. Nonetheless, a little perseverance and the job was soon done. Next up, I took my new handle and prepared it to be mounted. I inspected the bevel of the top of the handle, using my knife to whittle down the neck of it until it was at least even where the fat part transitions into the eye of the axe head.
It was a tight fit into the eye, as is expected and wanted, and I used a sledge and a board to pound the handle into the eye as far as I could, then reversed the process and used the old handle to pound the new one back out. I inspected the handle to see where the eye was making contact with the wood, and continued to take just a little bit from the neck and whittled the collar down, using my mini skrama.
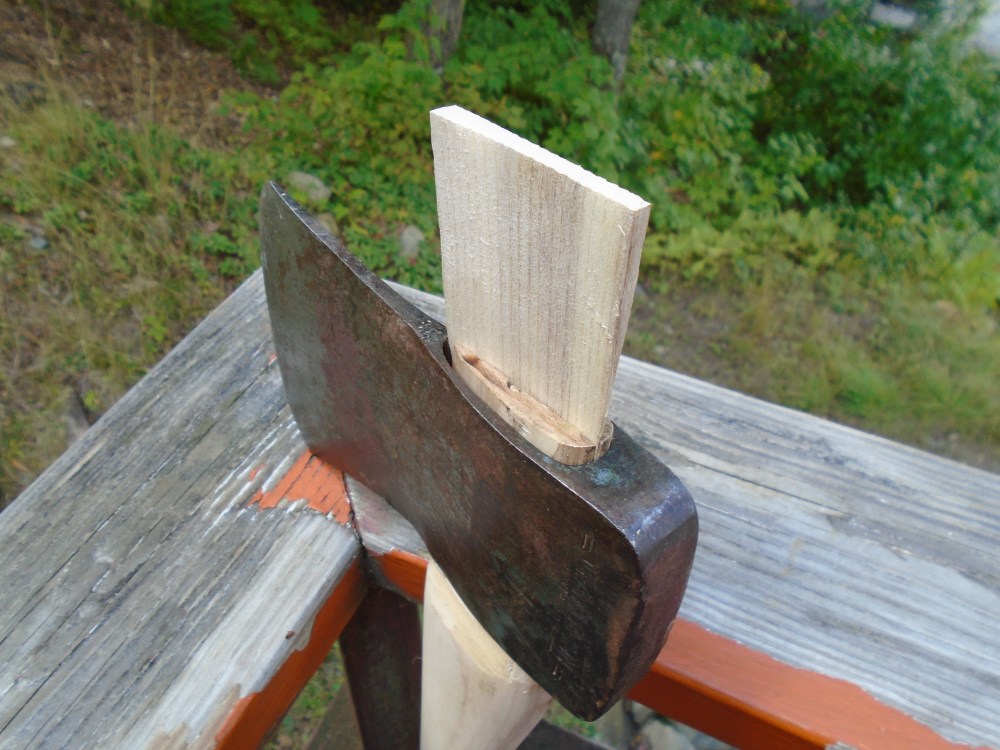
Eventually, I got the head mounted completely onto the new handle.
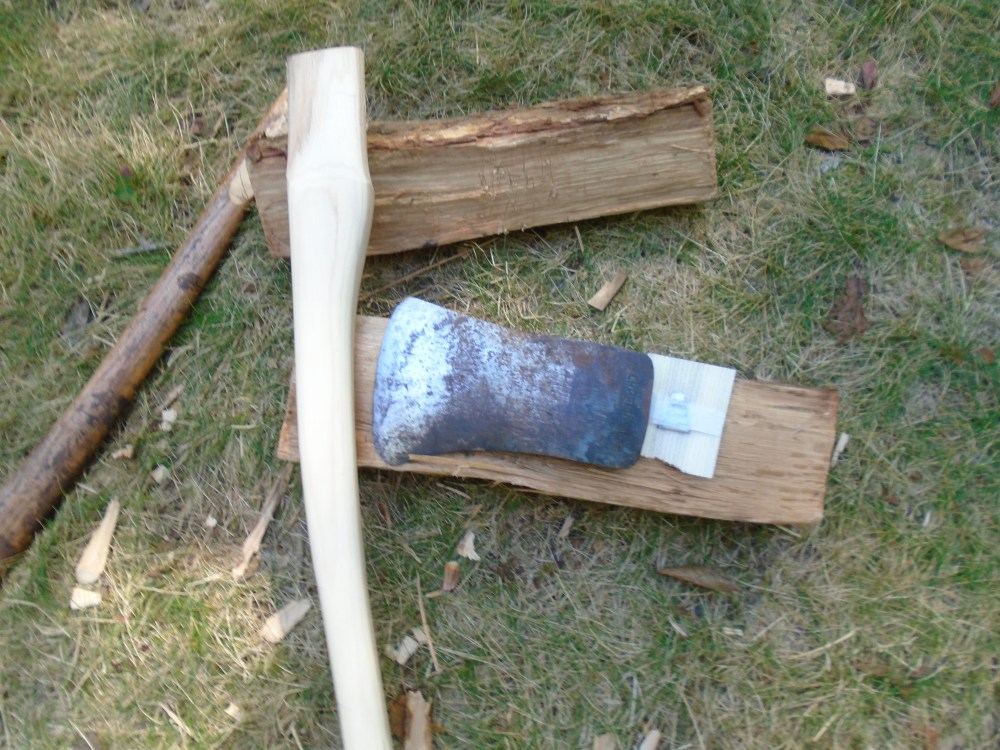
The handle was tightly fitted to the head, so I knew it would not take much to complete the job. I tested the wedge to see how it fit into the groove, discovering that it was too wide, and too fat by far.
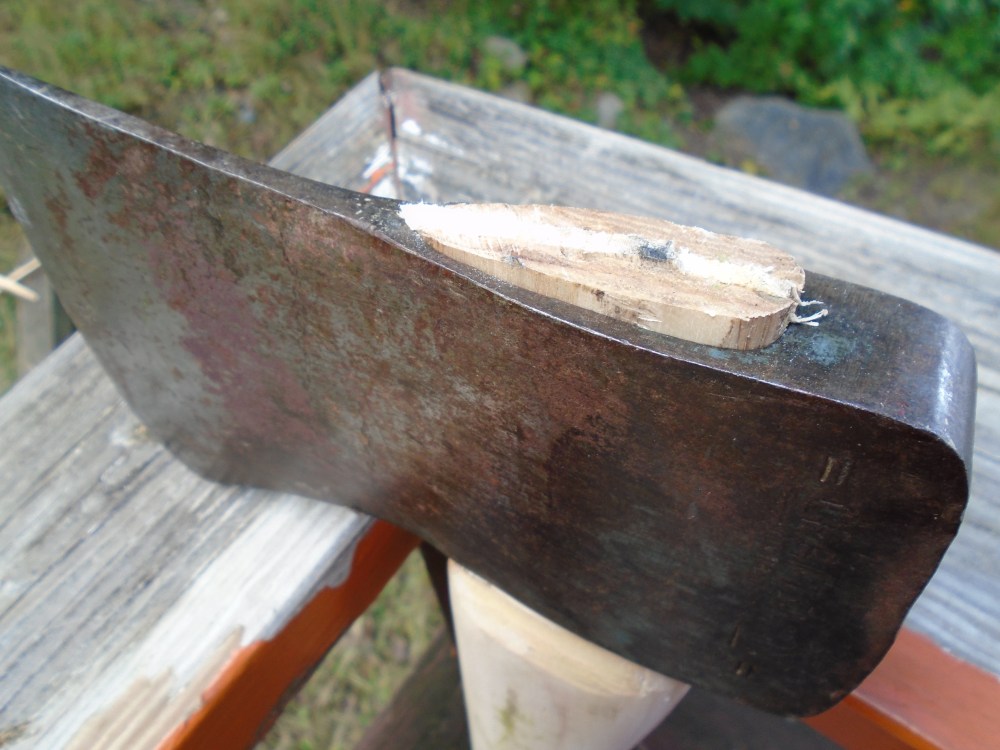
So, I shaved down the width of the wedge using a combination of my knife and a file, until I felt that it would sink completely into the groove with some coaxing with the sledge and a board, and it did, as I used the sledge to tap it lightly into place, followed by sawing off the protruding part to make it level with the handle. I decided that the metal wedge was not necessary, as the wood completely filled the eye of the axe with no gaps. A perfect fit.
Next, it was time to address the abysmal edge.
I mounted the axe handle in my bench vise, using a pair of rubber gloves to protect the axe and hold it tightly in place. I got my axe file and began filing the edge, dragging my finger on the cheek of the axe as I held the file to keep a consistent angle.

Using the file, I got the edge to a reasonable, working sharpness.
See those nicks in the edge? Normally, after using an axe file, I would next take a puck to the edge to put a finer, cleaner, convex bevel on my axe…
…but in this case, all that would do is make those chunks in the bevel wider and duller, and not having the time or the patience to file out all the nicks for an axe that would be further abused and driven into the dirt, I decided that an edge good enough split and cut was good enough, and putting a finer edge on it would just make for a weaker one more subject to further gouging, so I left it as is, a working edge on a working axe, primarily used for splitting small logs.
There was just one last chore to complete my axe makeover. I dug out the old, and I mean old, jug of boiled linseed oil.

I even had to use a pair of channel lock pliers to get the cap off….but hey, that’s the way things are at the cabin. With some shop towels, I applied a couple of coats of oil to the handle. This I would repeat for two more days. That light, fresh wood look turned a beautiful golden color as the wood soaked up the oil.
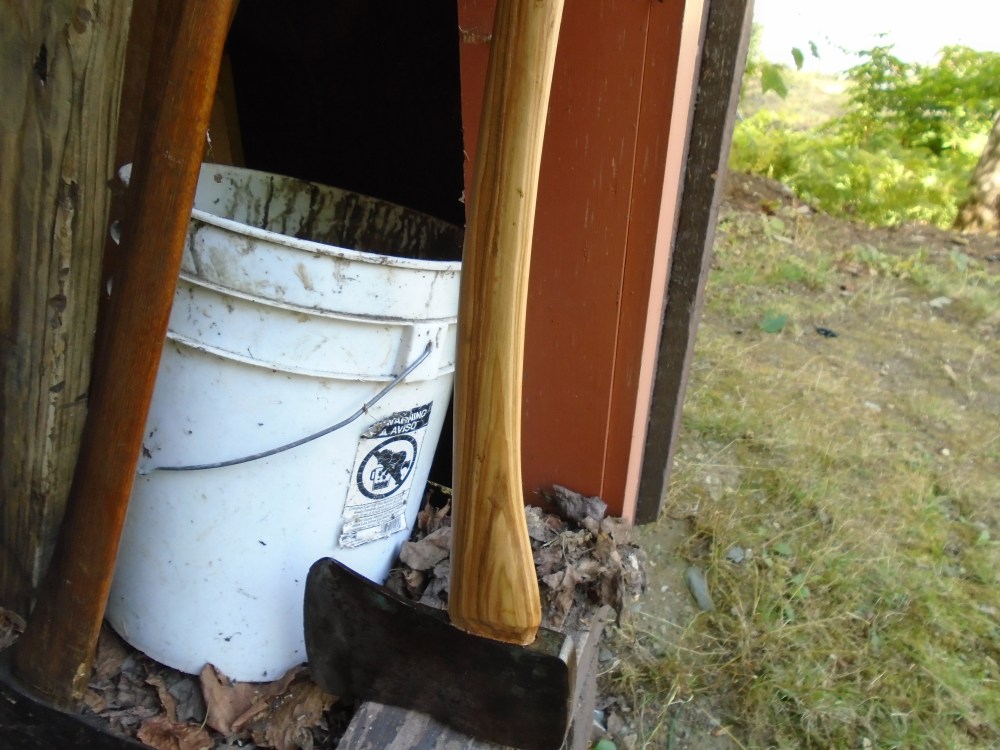
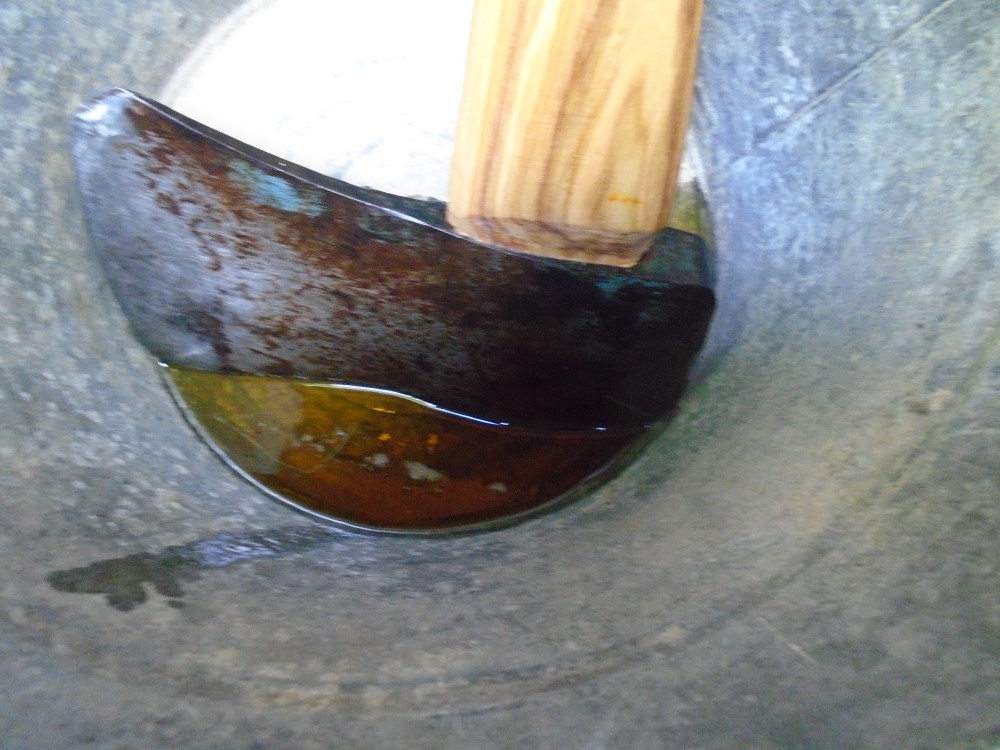
Once done with that, I got an old bucket, poured a fair amount of BLO into it, and soaked the head of the axe in it for two days. I like to make sure the eye of the axe gets as much BLO as possible, to make the wood swell up and fill any gaps there are in the eye, and mushroom out above the eye to keep it firmly locked in.
This completed my axe project, and I put the axe away in the shed. Next year, when I return, I’ll take her out again and apply a few more coats of oil to her, and if I feel like it, maybe do some more filing on the bit. But, for today, I turned a dangerous, dull axe into a safe, working axe that can chop and split when called upon. Already 40 years old, I think I have given her another 40 years of life and camp work, all in a day’s work.
I have two more axes that need the same treatment. Next year, I’ll bring some fresh new handles and give the old birds new life, too.
